
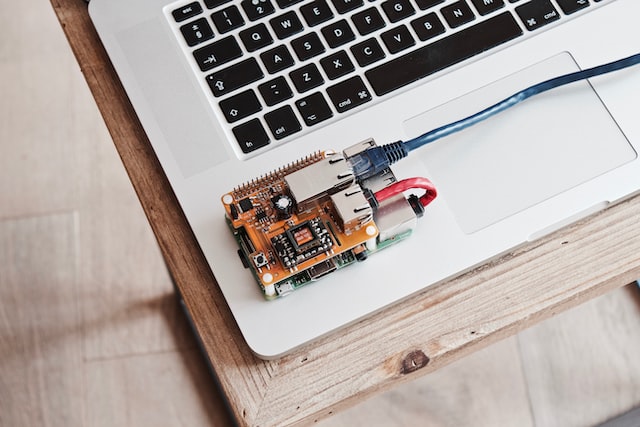
I personally like things like Raspberry Pi and I think we should make more of such kinds of affordable things so that equal knowledge and opportunities should be provided to everyone in every corner of the world. Anyway last time, we discussed Raspberry Pi and its functions. Today, in this article we’re going to see how anyone can connect Raspberry Pi to a laptop using Wifi.
The process is quite simple and straightforward. If you’ve used Raspberry Pi before. Then you’re not going to have any sort of problem. But if this is your first time using it.
Don’t worry, we got you covered. below, I have presented the entire process step by step on how to connect Raspberry Pi with a laptop wirelessly, and what other tools and equipment you require for this.
But before that, let’s discuss shortly what really is a Raspberry Pi? and why we need it.
What is Raspberry Pi?
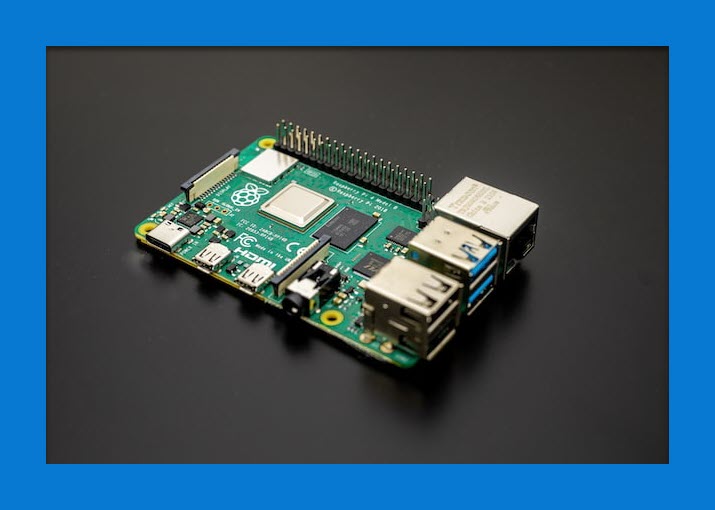
Well, Raspberry Pi is a series of small devices specially built to be used in schools and in countries, where buying computer systems is pretty expensive to teach the basics of computer science.
Moreover, it is also used for some other purposes, but the fundamental reason behind building this device was to teach the basics of computer science.
Moreover, it was originally produced by Raspberry Pi foundable located in the United Kingdom.
If you want to learn more about Raspberry Pi. You can visit the official website of the Raspberry Pi organization.
How to connect Raspberry Pi to a laptop using Wifi?
Before going towards the step-by-step guide there are a few things that you need to arrange for this.
Some tools you need for this process are
- Of course a Raspberry Pi.
- And SD card.
- Compatible wifi adaptor.
- A Lan cable (frequently used).
- Laptop.
- And a stable wifi connection
These are all you need for this setup. If you’ve got these things. You’re good to go.
Install Raspberry OS:
Well, you need to install the Raspberry operating system on your laptop as well as on the memory card. There is a variety of operating systems you can choose from. You can install any of the listed operating systems from the official website of Raspberry foundation.
After downloading the OS file on the memory card. You need to create its ISO image file on the memory card too. Before creating the image file, don’t forget to format the SD card once to avoid any sort of unexpected problems.
You can use any open-source software available in the market to create an image file of the operating system.
Some of them I can name are
- Rufus.
- UnibootIn
- Universal USB installer
- UMI
- PowerISO
and many more. You can use any of these software to create an image file. And if you have been using any other software before, that would be much better.
Configure Wifi through ssh file:
Now, as we are going to use wifi for connection. So, we also need to configure it first. Because you are going to use this file during booting up and connection between Raspberry Pi and laptop.
Firstly create a file by the name of the wpa_supplicant.conf, and copy and paste the below code into the file.
ctrl_interface=DIR=/var/run/wpa_supplicant GROUP=netdev

update_config=1

country=PK #Your country code

network={

ssid="My_WiFi" #Your WiFi Name

psk="123456789" #Your WiFi password

key_mgmt=WPA-PSK
Don’t forget to change the credentials with your own ones.
Moreover, also create a file by the name of SSH without any extension. This will allow you to connect Pi to the laptop.
Then you can eject the memory card from the laptop and insert it into the Raspberry Pi.
After completing this step. Now you’re fully ready to proceed to the next step.
Connect Raspberry Pi and ssh:
Well, rather than reinforcing the same steps here. I have a complete article on how you can do it. You can connect the Raspberry Pi with ssh within a few steps, by reading out the following comprehensive guide.
The above short article covers all the ways how you can connect them, and access the command line.
Configure mouse and keyboard:
Now the only thing that remains is to enable the using the mouse and keyboard. There are multiple methods to do this. But the best way is the VNC server.
But before installing that, you need to turn on this option in the settings. Open the configuring tool in Raspberry by entering the raspi-config.
From the interface options, you should be able to see the NVC option.
Moreover, you can change any other option too, if you want such as resolution.
Then finally you can install the NVC on your laptop. You can install the NVC viewer from the RealVNC website.
Install the software, launch it, and fill in the credentials. Be cautious while filling in the credentials.
And after completing this step click ok and finish the process.
The Pi window should appear on the screen, and everything should be able to work nicely and cleanly.
Wrapping Up:
If you are not a technical person. You might get a bit confused during the process. But don’t worry, the process is quite straightforward. And during noting down the credentials you need to consider what things you are filling in.
The rest process is quite easy. Moreover, if you get any sort of unexpected issue during any step. Or while anything doesn’t work. It would be a good idea to share that in the comment section. So that we could help you out.

